Repairing damaged wood in your home is a common task, whether it’s fixing a chipped tabletop or restoring an antique piece of furniture. This comprehensive guide will walk you through the process, from identifying the damage to the final finishing touches. Many homeowners find themselves wrestling with damaged wooden surfaces, and lack the knowledge to address the problem effectively. This article will provide clear and actionable steps to repair damaged wood, from small repairs to substantial restoration projects. We’ll cover the fundamental principles, necessary tools, and critical techniques to achieve successful wood repairs. This guide is divided into sections, focusing on different types of damage, tools, and the repair process.
Identifying the Damage
Assessing the extent of damage
Properly identifying the damage is crucial for choosing the right repair method. Determine the type of wood, the nature of the damage (e.g., cracks, chips, gouges, rot), and the size of the affected area. For instance, a small chip on a wooden chair might be easily fixed with wood filler, while a significant crack in a wooden floor might require more complex solutions like patching and refinishing.
Different types of wood damage
Common types of wood damage include cracks, chips, gouges, rot, and insect infestations. Understanding the specific type of damage will help you select the right repair method. Consider the severity and age of the wood. Older wood might have more extensive underlying damage than newer wood, meaning the approach to repairing the damage may differ.
Evaluating the repair needs
After assessing the damage, evaluate the repair needs based on the extent of damage. A small chip might only need a bit of wood filler, while a substantial crack might require a more intensive approach, potentially including replacing a portion of the damaged wood. A professional evaluation is crucial for more extensive repairs to ensure structural integrity.
Choosing the Right Tools
Essential tools for wood repairs
Various tools are necessary for repairing damaged wood. For minor repairs, a basic toolkit might suffice, including wood filler, sandpaper, and a putty knife. For larger projects, you’ll need more specialized tools, such as a drill, clamps, and various types of saws. Consider the specific repair you will perform and what tools may assist in accomplishing this task.
Selecting appropriate wood fillers
Different wood fillers cater to various wood types and repair needs. For example, wood putty or wood filler sticks might be suitable for small chips or cracks. Specialty fillers designed for particular types of wood might be a requirement to match the original material and tone.
Safety considerations when using tools
Safety is paramount when using woodworking tools. Ensure that you’re using the appropriate safety equipment, such as eye protection, gloves, and a dust mask, to prevent injuries.
Repairing Minor Damage
Filling chips and cracks
For minor damage like chips and small cracks, wood filler is typically the solution. Apply a thin layer of wood filler to the damaged area, smooth it out with a putty knife, and let it dry completely. Sand the area smooth once the filler has dried to match the surrounding wood and ensure no filler is visible. If the filler is too thick or rough, follow the instructions for the product.
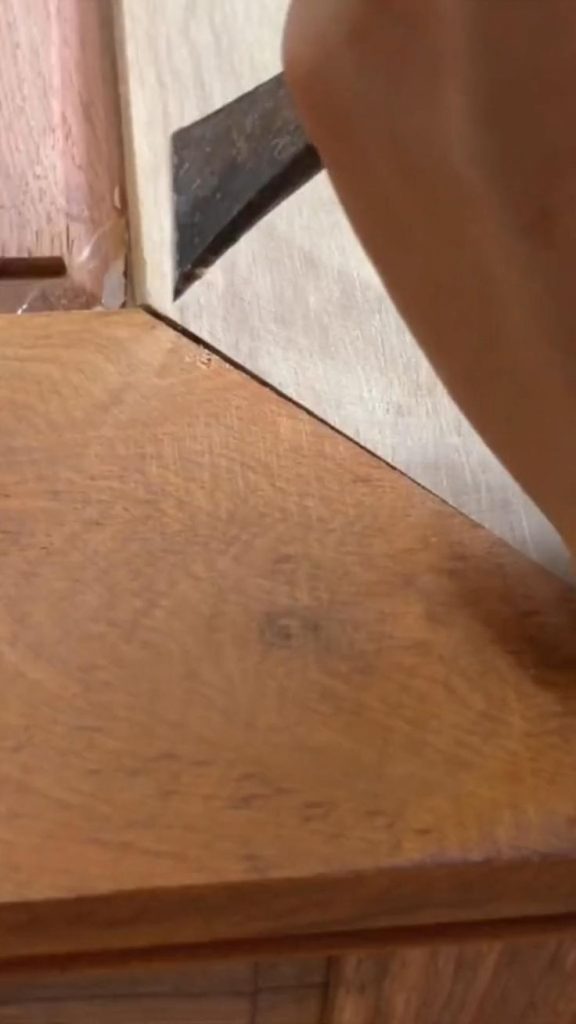
Repairing small gouges
Small gouges can often be filled with a wood filler, then sanded and refinished if needed. Apply pressure evenly to the filler and smooth it out with a putty knife. The wood filler needs to be thoroughly dried before sanding. For deeper gouges, consider a stronger filler or a patch to prevent cracking.
Cleaning up the repair
After the filler has dried, clean up the repair area with sandpaper, focusing on smooth transitions. Using a suitable wood sanding block, remove any excess filler, ensuring a seamless blend with the surrounding wood.
Addressing Larger Damage
Repairing large cracks
For significant cracks, a more extensive repair is needed. Use wood glue and wood plugs to reinforce the crack. Ensure the wood plugs match the surrounding wood in color and texture. If the crack is substantial, consider using wood screws or nails to further secure the repair. Always ensure the wood is completely dry before starting any repair that includes glue to prevent further issues.
Patching large holes
If a large portion of the wood is damaged, consider patching the area with a wood patch. Cut a piece of wood that is slightly larger than the hole, ensure the material is compatible with the existing material, and then secure it with glue and screws or nails. Ensure the patch is flush with the surrounding wood before sanding and applying any finish to prevent further problems.
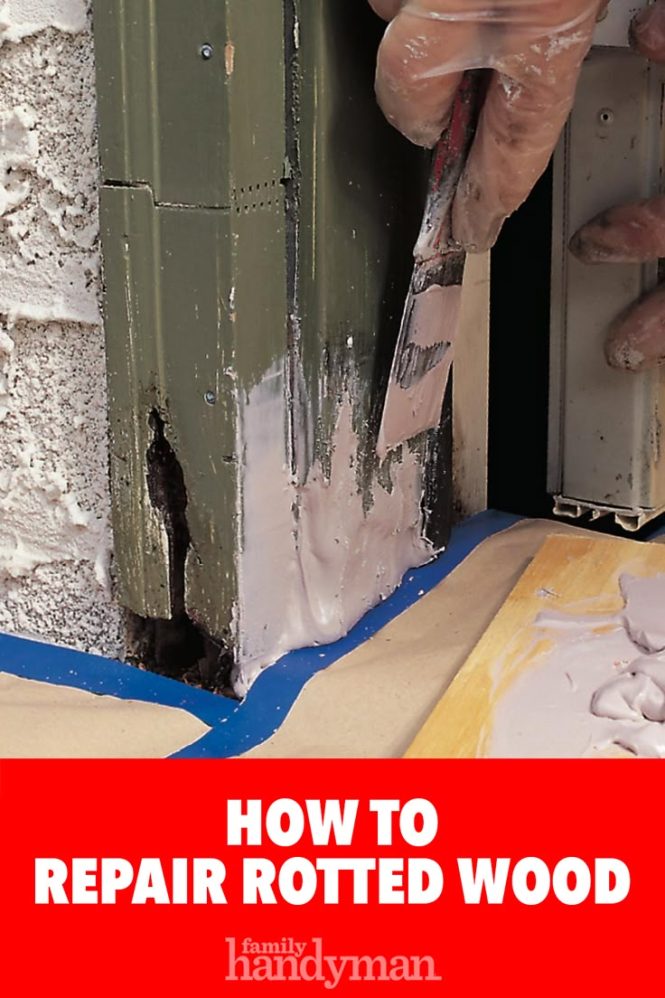
Repairing rotted wood
Rotted wood needs careful attention. Remove all decayed wood to the sound wood. Ensure that the area is thoroughly cleaned before applying any treatment, using a suitable cleaner and dehumidifier if required. Consider replacing rotted sections of wood to ensure structural integrity. Consider using pressure-treated wood for areas prone to rot.
Finishing Touches
Applying wood stain or paint
Once the repair is complete, apply wood stain or paint to the repaired area to match the surrounding wood. Apply even coats and let each coat dry completely before applying subsequent coats. If using a stain, consider the type and color to match the existing wood.
Sanding and smoothing
Thoroughly sand the area to achieve a smooth finish, ensuring the repaired area blends seamlessly with the surrounding wood. Use progressively finer grits of sandpaper to ensure a smooth finish.
Protecting the repair
Once the finishing touches are complete, protect the repair with a sealant or varnish to prevent future damage. Consider using a sealant designed for the specific type of wood or finish to prevent future problems.
Additional Tips
Understanding Wood Types
More Repair Techniques
Case Studies of Wood Repairs
Frequently Asked Questions
What are the best ways to prevent wood damage in my home?
Preventive measures are essential for avoiding wood damage. Regular maintenance, such as cleaning and sealing wood surfaces, can help extend the lifespan of your wood furniture and home features. Inspect wood regularly for any signs of damage, such as cracks, rot, or insect infestation. Prompt action and addressing any issues promptly can prevent further damage and ensure long-term protection of your home’s wooden surfaces.
How do I know if the damage to my wood is structural?
Structural damage to wood often requires professional intervention. If you suspect that the damage is structural or if you are unsure about the extent of the damage, contact a certified carpenter or woodworker. They will be able to assess the damage properly and recommend the most effective solution. Be aware of the signs and causes of structural damage, as these can be indicators of further problems.
In conclusion, repairing damaged wood is a multifaceted process that requires careful consideration of the damage, appropriate tools, and the right techniques. By following these steps, you can effectively restore your home’s wooden features to their former glory and save yourself from costly replacements. Remember to prioritize safety and always consult professionals for complex or extensive repairs. If you’re unsure about any steps, a certified carpenter can provide invaluable guidance. Contact a local professional today for a free consultation!