
DIY Flooring Refresh Projects are a popular home improvement trend for homeowners seeking cost-effective ways to update their living spaces. Imagine walking into a room and being immediately greeted by beautiful, brand new-looking floors, without the hefty price tag of hiring professionals. This detailed guide will walk you through the entire process of DIY flooring refresh projects, from initial planning to the final touches. We’ll cover various types of flooring, materials, and tools, offering specific steps and advice for success. You’ll also learn how to budget effectively and avoid common mistakes. This guide is structured in the following manner: first, we will lay out the foundational aspects of this project, including planning, budgeting and material selection. Next, we delve into various flooring types, such as wood, laminate, and tile, and their respective renovation techniques. Finally, we discuss post-project considerations and highlight common pitfalls to avoid.
Planning and Budgeting for Your DIY Flooring Refresh
Assessing Your Needs and Defining the Scope
Before diving into the excitement of new flooring, it’s crucial to clearly define your needs and project scope. What is the primary purpose of this project? Is it simply to refresh or to entirely replace the old flooring? Detailed planning will minimize surprises and save you time and frustration. Consider the room’s dimensions, the current state of the existing floor, and any existing damage or flaws. A visual inventory of the room including your existing flooring and its condition helps to establish a clear picture and prepare a suitable budget.
Setting a Realistic Budget
Establishing a realistic budget is essential for success. Research the cost of different flooring materials, including installation, tools, and necessary supplies. Factor in potential unforeseen expenses, such as repairs or additional materials. Creating a detailed budget is critical for avoiding cost overruns. Consider the cost per square foot of different materials and estimate the total cost for the project before you start. Remember that this includes the materials and the labor for your project.
Exploring Different Flooring Options
Wood Flooring Refreshes
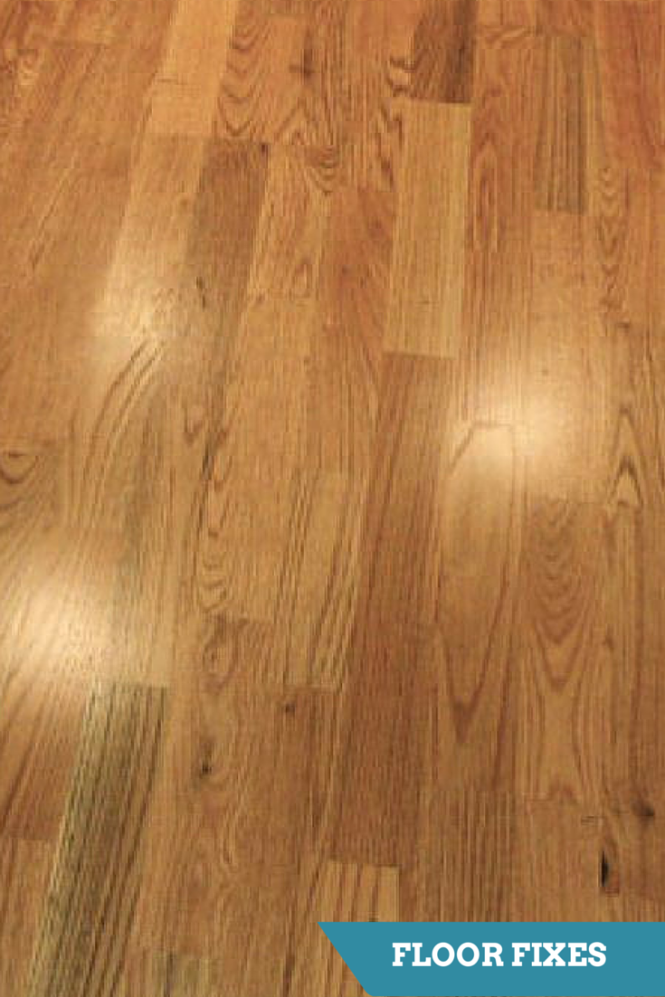
For a classic, warm feel, wood flooring is a timeless choice. Refurbishing existing wood floors can breathe new life into a space without the expense of a complete replacement. Consider sanding and refinishing existing wood flooring to remove scratches, dents and scuffs and apply a fresh coat of stain or varnish. If you’re looking for a significant visual impact, consider installing new wood flooring, ensuring proper subfloor preparation and securing the wood planks correctly. This careful preparation ensures long-lasting results and saves you money over the long term.
Laminate and Tile Flooring Projects
Laminate Flooring Installation
Laminate flooring is an excellent budget-friendly option. Installation is relatively straightforward, though precise measurements are essential to avoid gaps or misalignments. Ensure your subfloor is level and stable, and use the correct adhesive and tools for a seamless, attractive finish. Choosing the right color scheme and pattern for laminate flooring will make a big impact on your home’s aesthetics. Refer to manufacturer instructions for precise details.
Tile Flooring Updates
Tile is a durable and versatile flooring option, making it suitable for high-traffic areas. For a DIY tile flooring update, consider choosing a DIY tile design using attractive patterns or unique colors. You’ll also want to ensure the subfloor is properly prepared to ensure that the tiles adhere correctly. This is critical to avoid issues later on. Plan carefully, considering the grout type, size and color for the best aesthetic.
Essential Tools and Materials
Gathering Your Necessary Tools
Gathering the necessary tools is crucial for any DIY project. For wood floors, you’ll need a sander, a power drill, a measuring tape, a level, safety glasses, and possibly other tools depending on your chosen approach. For tile, you will want a tile cutter, a grout mixer, a sealant, and the appropriate tiles. Accurately measuring will make a big difference when working with tools. Thoroughly researching the requirements for your chosen flooring method will help you determine the exact tools necessary.
Sourcing Materials and Supplies
Choosing the right materials is crucial. Research various types of flooring and finishes to determine the best option for your style and budget. Consider the level of maintenance each option will require. Be sure to factor in potential issues like material availability or unforeseen delivery delays when sourcing materials.
Step-by-Step DIY Instructions
Preparation and Installation
Carefully prepare the subfloor, removing any debris and ensuring it’s level. Follow manufacturer instructions for the chosen type of flooring for proper installation. Ensure that your chosen materials are compatible with your existing subfloor. Proper preparation will impact the overall longevity of your work.
Finishing Touches
Once the flooring is installed, apply sealant and grout (if applicable). Take the necessary precautions to protect your finished project from dust and debris.
In conclusion, DIY flooring refresh projects are a fantastic way to breathe new life into your home, improve its aesthetics, and potentially increase its value. By carefully planning your budget, choosing the right materials, and following a systematic approach, you can achieve stunning results without breaking the bank. Remember to factor in your skill level and any potential challenges before embarking on a project. Don’t hesitate to reach out to professionals for support or guidance if needed. Ready to transform your floors? Get started with our DIY flooring refresh project guide today!