
DIY carpentry for your home office can be an incredibly fulfilling project, allowing you to create a space that perfectly reflects your style and needs without breaking the bank. Imagine a meticulously crafted home office, tailored to your specific workflow, designed with the perfect balance of aesthetics and functionality. This guide dives deep into the world of DIY carpentry, exploring how to create a productive and inspiring space for work and creativity within your home. Many people find themselves cramped in a small workspace or unsatisfied with the current setup. This guide will equip you with practical advice and clear instructions to effectively overcome these challenges and develop your home office exactly how you envision it. We’ll cover essential tools, materials, and techniques to bring your ideas to life. This article will explore the ins and outs of building your ideal home office, from planning to completion.
Planning Your Perfect Home Office
Defining Your Needs and Space
Before you embark on your DIY carpentry adventure, careful planning is essential. Understanding your needs and workspace dimensions are critical. Consider the size of your space and how much work area you require. A well-organized space leads to a well-organized mind. Determine the necessary storage solutions (drawers, shelves, cabinets) and incorporate these into your initial plans. Your home office should be a space that enhances your productivity, a space you enjoy spending time in. Consider your existing furniture and any potential reconfigurations that may optimize your workflow. Also, consider how much natural light you can incorporate into the space, ensuring a comfortable atmosphere. Planning your layout using blueprints or digital design tools can help visualize your space and ensure efficient use of every inch. Don’t underestimate the importance of storage solutions in a home office; strategically place cabinets and shelves for easy access and organization, boosting your daily workflow.
Choosing Materials and Tools
From the very beginning, select materials appropriate for your budget and desired aesthetic. Knowing your budget is paramount; if you intend to use reclaimed wood, ensure its structural integrity, and inspect for any damage. Choose quality materials that will stand up to daily use. Also, determine how your home office fits into the overall design aesthetics of your house. Select durable and aesthetically pleasing wood species, paint, and other finishing materials that complement your style. Gather the necessary carpentry tools, including saws, drills, hammers, measuring tapes, clamps, and sandpaper, ensuring everything is in good working order. Having the right tools and materials readily available is critical to a smooth process, and prevents potential project delays or errors. A well-stocked toolbox and a thoughtfully planned budget will prevent delays during the process. This part of the process must be properly planned to ensure the project goes smoothly.
Building the Structure
Constructing the Frame
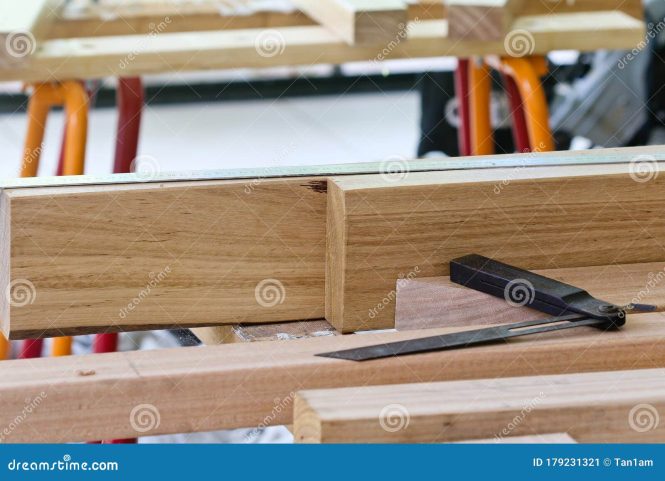
Once you’ve laid out your design, meticulously construct the frame for your home office furniture. Using precise measurements, cut the wood pieces to size using a saw, ensuring accuracy to achieve a flawless fit. Reinforce the structure with supporting braces or joinery techniques for durability and stability. Consider using wood glue and screws for lasting strength and maintainability. Focus on making all connections strong and secure to accommodate any weight you might place on them. Ensure that all cuts are straight and precisely aligned to achieve a stable frame. Remember to use safety glasses and other protective gear when handling power tools.
Adding Finishes
Apply a protective coat of paint or varnish to enhance the aesthetic appeal of your home office. Use high-quality products that offer resistance to scuffs and scratches. If using varnish or stain, carefully follow the manufacturer’s instructions, focusing on the drying times and proper application techniques. Proper staining, painting, or varnishing will safeguard the wood from elements like moisture or sun exposure and will also enhance the appearance of your furniture.
Adding Storage and Workspace
Designing Functional Storage
Design and construct storage solutions like shelves and drawers. Custom-made storage solutions perfectly fit your home office. Think about where you need storage for files, books, and other supplies. Measure accurately before cutting your wood and use a level to ensure the shelves are perfectly horizontal and secure. Use wood glue and screws for a lasting structure. Use metal hardware or wooden dowels for drawer slides, ensuring easy access and smooth operation. Using high-quality materials will not only improve the longevity of the products but also enhance the quality of work that comes out of the space.
Creating the Workspace
Now, craft a workspace that aligns with your specific needs. Design a tabletop using durable plywood for a large, solid surface area. If needed, incorporate an integrated desk with drawers to maximize storage and efficiency. Incorporate ergonomic considerations into your design to ensure long-term comfort and prevent discomfort or injuries from prolonged use. Consider the height, depth, and width of the desk to ensure comfortable use. Ensure the desk is sturdy enough to support various work materials and equipment.
Finishing Touches
Installing Hardware
Install drawer pulls, knobs, and other hardware that enhance the functionality and aesthetics of your home office. These small details are essential for making your home office more refined. Carefully select hardware that complements your home office’s style and adds a personal touch. The correct use of tools will lead to a smooth and safe process. Be meticulous to ensure a perfectly aligned and functional result.
Final Assembly
Carefully assemble all components of your home office furniture. Tighten screws securely to ensure stability and prevent any potential wobbliness or gaps in the structure. Double-check everything for gaps, loose connections, and ensure everything is well-aligned. Carefully inspect the entire structure to ensure that your design and assembly are properly aligned.
Maintaining Your Home Office
Regular Maintenance
After you have completed your DIY carpentry project, it is important to maintain your home office to ensure its longevity and keep it functioning properly. Clean your work surface regularly, keeping it free of dust and debris. Inspect the condition of the wood regularly for any signs of damage and ensure the furniture stays in tip-top shape. Regularly inspect the furniture for signs of wear and tear, and fix any issues promptly. Cleaning the space regularly will ensure the space retains its aesthetic appeal for years to come. Clean any spills immediately to avoid potential damage.
Enhancements
Consider adding accessories like plants, lighting, and artwork to complete your space. Personal touches will transform your workspace into an inspirational retreat where you can relax and focus.
Frequently Asked Questions
What tools are necessary for DIY carpentry projects?
For DIY carpentry projects, you’ll need essential tools like saws (hand saws, circular saws, miter saws), drills (hand drills, power drills), hammers, measuring tapes, and clamps. Safety gear is also crucial, including safety glasses, ear protection, and work gloves. Consider the types of projects you will be tackling, and obtain the tools that match these needs.
How can I make my home office space more organized?
To maximize organization, incorporate storage solutions like shelves, drawers, and cabinets into your design. Consider using vertical space by incorporating wall-mounted shelves or cubbies to maximize storage efficiency. Label everything for easy access, creating a workspace where you can easily find what you need. Using storage solutions will prevent your home office space from becoming cluttered.
In conclusion, DIY carpentry for your home office can be a rewarding experience, offering significant savings and personalized customization opportunities. By following these steps and leveraging readily available resources, you can transform your home office into a productive and inspiring space. Remember, careful planning, quality materials, and proper execution are key to a successful project. If you’re feeling overwhelmed, consider hiring a professional for guidance. Don’t hesitate to explore online resources and tutorials for inspiration and practical advice. Embrace the journey of crafting your dream home office with confidence!