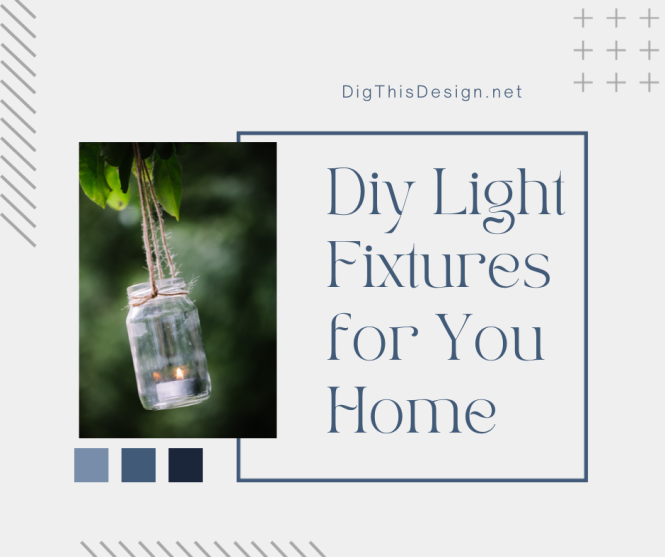
DIY lighting fixture upgrades are a fantastic way to dramatically enhance your home’s look and feel without breaking the bank. Imagine the possibilities! A simple bulb replacement can bring a whole new style to a room, and more intricate projects can dramatically upgrade the aesthetic and utility of any space. This guide will explore various DIY lighting fixture upgrades, addressing common challenges and providing solutions to help you confidently transform your home lighting. We’ll cover everything from simple bulb swaps to more complex fixture installations, providing step-by-step instructions and expert tips to help you succeed. Ready to dive in? This guide provides a comprehensive look at several different approaches to updating your lighting, with clear explanations, helpful visuals, and a focus on problem-solving to ensure a successful project.
Planning Your Project: Assessing Needs and Options
Choosing the Right Fixture
To start your DIY lighting fixture upgrades, carefully assess your needs. What kind of lighting do you want to achieve? Are you aiming for a brighter, cozier space or a dramatic statement? Consider factors like the room’s size, layout, existing architectural features, and the overall aesthetic of your home. Knowing the goals ahead of time allows you to choose the correct fixtures for the job. Also, look into various types of fixtures that match the styles and needs of your individual rooms. Consider whether you want to simply change the shade or whether a total replacement is appropriate for the budget and needs of your project. Don’t underestimate the importance of selecting the right bulb types for the fixture and the lighting effect you seek. Understanding the different types available is a key element to a successful lighting upgrade.
Budget Considerations
Budget plays a crucial role in determining the scope of your project. While DIY projects often offer significant cost savings, careful budgeting is key for successful outcomes. Calculate the cost of materials, tools, and potential labor if necessary. If possible, creating a detailed list of materials and a budget for parts can be helpful to prevent cost overruns. Planning the budget is essential in making sure a project is both feasible and successful.
Lighting Fixture Replacement Techniques
Bulb Replacement Basics
One of the easiest and most cost-effective DIY lighting fixture upgrades is simply replacing a light bulb. However, this seems straightforward, selecting the correct bulb type is essential. Different fixtures are designed to work with specific bulb types, from incandescent to LED. Understanding this is key for ensuring proper lighting function and compatibility. Consider factors like wattage, color temperature, and shape when making your choice. Look for appropriate replacement bulbs at local home improvement stores or online retailers. Always disconnect the power source before handling the fixture to prevent any electrical shocks. With many DIY options, you can transform a standard fixture into something new and unique.
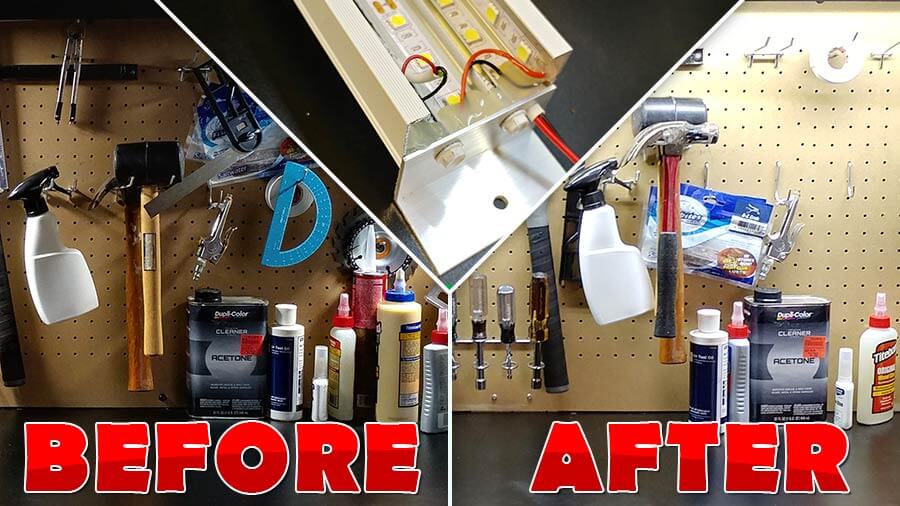
Full Fixture Upgrade
For a more significant overhaul, a complete fixture replacement might be necessary. This typically involves dismantling the old fixture, installing new wiring (if needed) and mounting the new fixture in the same location. Carefully study the instructions that come with the new fixtures, or consult a skilled handyman for any special techniques. When purchasing lighting fixtures, consider the voltage and compatibility for your home’s electrical system to prevent electrical hazards and ensure safety.
Choosing the Right Materials and Tools
Essential Materials
Selecting the right materials for your DIY lighting fixture upgrades is critical. This includes everything from bulbs to fixtures. Consider the type of bulb, the fixture material, and even the appropriate wiring components. When buying materials, compare prices from different retailers, including local stores and online marketplaces. Always follow the safety guidelines and use the correct tools to prevent any harm. When looking at materials for your project, consider how these elements might fit with the aesthetics you’re hoping to accomplish.
Essential Tools
The necessary tools for DIY lighting projects can vary depending on the scope of the upgrade. Basic tools, such as screwdrivers, wire strippers, and pliers, are essential. More complex projects may require additional tools, such as a drill, a voltage tester, and a step ladder. Always prioritize safety when working with electrical components. Carefully read and review the instructions and guidelines provided by the manufacturer before starting any project.
Safety Precautions for DIY Lighting Projects
Electrical Safety Measures
Electrical safety is paramount in any DIY lighting project. Always turn off the power to the fixture before working on it. Use a voltage tester to ensure the power is completely off. If you are unsure about electrical work, consult with a qualified electrician. Electrical safety should be a top priority for any DIY lighting project. This simple step can prevent serious injury or even electrical shocks.
Proper Disposal and Recycling
Proper disposal and recycling of materials are important. Check local regulations for safe disposal procedures. This is essential to ensure that used materials are discarded properly to prevent any further environmental harm.
Additional Tips for Success
Planning and Preparation
Thorough planning and preparation is crucial for a successful DIY lighting fixture upgrade. This includes creating a detailed checklist of steps, gathering necessary materials and tools, and reviewing any instructions provided by the manufacturer. Detailed planning can greatly improve the outcomes of your project.
Seeking Expert Advice
For complex projects, seeking expert advice from a qualified electrician or lighting specialist can be beneficial. They can provide valuable insight and guidance to ensure a safe and effective outcome.
FAQ
What are some common mistakes to avoid when doing DIY lighting fixture upgrades?
One common mistake is failing to turn off the power source before working on electrical components. Another mistake is using the incorrect type of bulb or fixture for the application. Double-checking your project before starting, and following the manufacturer’s instructions closely, is important for preventing electrical shocks or poor-fitting fixtures. Always review and consider the safety elements involved in any electrical project. Improper procedures can cause serious harm!
How can I ensure my DIY lighting fixture upgrades will last?
Using high-quality materials, following the manufacturer’s instructions carefully, and regularly maintaining your fixtures can significantly increase the lifespan of your upgrades. Proper installation and the selection of appropriate materials are important for ensuring your project will last.
What are the environmental impacts of DIY lighting fixture upgrades?
The environmental impact of DIY lighting fixture upgrades depends on the materials used and the extent of the upgrade. Using energy-efficient bulbs, such as LED, can significantly reduce your carbon footprint. Consider materials that are recyclable and made with sustainable practices. When choosing materials for your project, consider the environmental impact. Making thoughtful choices can greatly affect the outcomes of a lighting upgrade.
In conclusion, DIY lighting fixture upgrades offer a fantastic way to transform your home’s ambiance and save money. By following the steps outlined in this guide, you can confidently tackle these projects, whether you’re a novice or an experienced DIY enthusiast. Remember to prioritize safety and consult resources for specific fixture models if needed. Get started today and unlock the potential of your home’s lighting design! Learn more about DIY lighting and find affordable parts by visiting [Website Link].