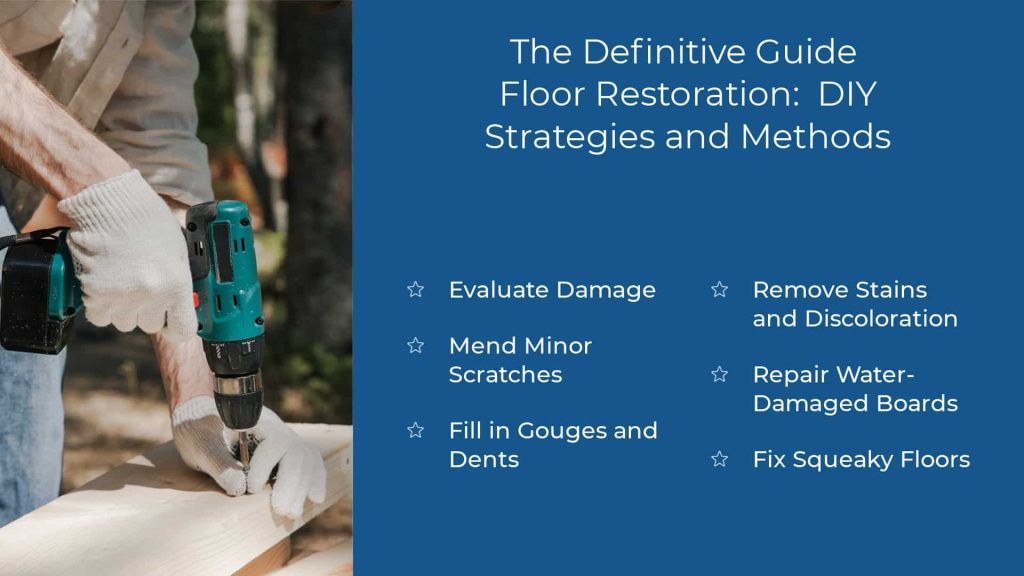
DIY flooring repair is a valuable skill for any homeowner. Whether you have a scratched hardwood floor, a damaged laminate surface, or a cracked tile, repairing it yourself can save you a significant amount of money. Imagine walking into a beautifully renovated space, but without the hefty price tag. It’s possible, and this guide will show you how! This article delves into various DIY flooring repair techniques, identifying common problems and outlining practical solutions. We’ll cover everything from the initial assessment to the finishing touches, guiding you through each step with clarity and practicality. We will explain how to tackle different flooring types—hardwood, laminate, vinyl, and tile—and equip you with the knowledge to repair your flooring efficiently and effectively.
Assessing the Damage: A Crucial First Step
Identifying the type of damage
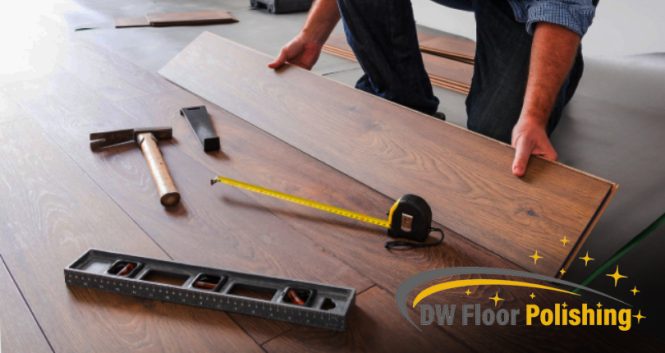
Flooring damage can range from minor scratches to significant cracks or gaps. The first step in any DIY repair project is a thorough assessment. Carefully examine the affected area, noting the extent of the damage, the type of flooring, and the materials used in its installation. Determine if the problem is superficial or structural. A small crack in a tile might only need a quick repair, but a significant gap in a wooden floorboard might require replacing the entire board. Understanding the nature of the damage dictates the appropriate repair strategy.
Choosing the Right Tools and Materials
The next important step is gathering the necessary tools and materials. Depending on the type of damage and flooring, you’ll need various tools and supplies. For instance, repairing a scratched hardwood floor might only require a wood filler, sandpaper, and a stain. However, repairing a cracked tile may necessitate grout replacement, tile adhesive, and potentially new tiles. The precision of your tools and quality of your materials are critical for a durable and aesthetically pleasing outcome. Carefully consider the specific needs of your project. The appropriate selection of tools and materials is vital in achieving a successful repair. This means taking the time to consider what you need and ensuring you have the right equipment.
Hardwood Flooring Repair Techniques
Repairing Scratches and Dents
Hardwood floors are a classic choice, but they are susceptible to scratches and dents. Using wood filler to repair minor scratches is a common method. Match the wood filler color precisely to the surrounding wood for a seamless finish. Sand the filled area smooth, then use stain or varnish to blend the repaired section. For more severe damage, consider using a specialized hardwood floor repair kit for a complete solution. Professional advice can ensure the repair aligns with the existing aesthetic of the floor. Before performing any repair steps, thoroughly clean the affected area to remove any debris or contaminants. This step helps to maintain a good bonding surface.
Replacing Damaged Boards
Sometimes, damage to hardwood flooring necessitates replacing entire boards. Carefully remove the damaged board, being mindful of the underlying subfloor. Measure the replaced board accurately and cut a new one to fit. Install the new board using appropriate adhesives and ensure it’s aligned correctly with the neighboring boards for a neat and professional finish. Check the compatibility of the new board with the existing floor, considering the type of wood and its current condition.
Laminate Flooring Repair
Fixing Scratches and Scuffs
Laminate flooring is a popular choice for its durability and affordability. Scratches and scuffs can be easily repaired with specialized laminate repair kits. These kits typically contain matching laminate pieces, adhesives, and sanding materials. Follow the manufacturer’s instructions carefully. Carefully measure the scratch area and trim the replacement piece precisely for a seamless repair. Remember to sand the repaired area to match the surrounding laminate for a natural look. Ensure all debris is removed from the affected area before applying the repair solution.
Tile and Grout Repair
Repairing Damaged Tiles
Ceramic and porcelain tiles are resilient choices for kitchens and bathrooms. Cracked or broken tiles require careful replacement. Using a tile cutter, carefully remove the damaged tile. Ensure the tile is aligned before applying the mortar. Replace damaged tiles with matching pieces. Allow the mortar to dry completely following the manufacturer’s instructions for a durable and long-lasting repair. For best results, consider using a tile leveler for correct alignment.
Vinyl Flooring Repair
Addressing Scratches and Tears
Vinyl flooring is a practical choice for high-traffic areas. Addressing scratches and tears on vinyl flooring can be achieved using specialized repair patches and adhesives. Carefully measure the damaged area and cut the patch to size. Apply the adhesive according to the manufacturer’s instructions, ensuring proper curing time for lasting results. Use sand paper to blend the patch into the surrounding area, making sure to match the finish of the vinyl.
In conclusion, DIY flooring repair is a rewarding and cost-effective way to revitalize your home’s interior. By carefully assessing the damage, selecting the right materials, and following our step-by-step guide, you can tackle various flooring issues with confidence. Remember that preparation is key to a successful DIY project. Don’t hesitate to consult resources like online tutorials, or local professionals if you encounter challenges beyond your capabilities. Ready to transform your flooring today? Visit our website for more DIY home improvement projects and inspiration.